Quick Delivery Of A Web App For Android & Desktop

Increasingly there's a growing need to develop and publish across technological platforms, for many different reasons. One of them is vendor lock-in, where you want clients to depend on an installation of your product rather than visit a shared page. Another might be access to the underlying operating system. Or presentation on a tablet. Then there's agencies, who want to impress.
Typically in a cross-platform scenario you're going to opt for Javascript, so you can write once, and publish to each platform natively. Using something like React, you can work across the backend server, the web browser, mobile apps, and desktop apps.
However there are circumstances where you need to publish apps to devices and not have the time to refactor backwards. At that point, you need to consider getting your web app into a "wrapper" installed on the target device.
Packaging A Web App Into An Android WebView
The theory behind a simple web app in Android, for lack of a better way to describe it, is to launch an "embedded" web browser within it. In Android, this is known as a WebView, and supplied by an instance of the WebKit API.
When a user requests something, they generate an Intent, which generally leads to a screen known as an Activity.
After downloading Android Studio and creating a new project ("Empty Activity"), we need to first set out what it needs on install. That's where our Manifest comes in. You can think of it as a global settings file.
In app/src/main/AndroidManifest.xml
- We specify we need permissions for Internet access and GPS coordinates;
- We allow debugging (but need to remove it later);
- We set up our buttons and icons;
- We ask the device to intercept custom URIs like mycompany://;
<?xml version="1.0" encoding="utf-8"?>
<manifest xmlns:android="http://schemas.android.com/apk/res/android"
    package="com.mycompany.myproject">

    <uses-permission android:name="android.permission.INTERNET" />
    <uses-feature android:name="android.hardware.location.gps" />
    <uses-permission android:name="android.permission.ACCESS_FINE_LOCATION" />
    <uses-permission android:name="android.permission.ACCESS_COARSE_LOCATION" />

    <application
        android:debuggable="true"
        android:allowBackup="true"
        android:icon="@mipmap/ic_launcher"
        android:label="@string/app_name"
        android:roundIcon="@mipmap/ic_launcher_round"
        android:supportsRtl="true"
        android:theme="@style/Theme.MyProject">
        <activity android:name=".MainActivity">
          <intent-filter>
            <action android:name="android.intent.action.MAIN" />
            <category android:name="android.intent.category.LAUNCHER"/>
          </intent-filter>

          <intent-filter>
            <action android:name="android.intent.action.VIEW" />
            <category android:name="android.intent.category.DEFAULT"/>
            <category android:name="android.intent.category.BROWSABLE" />
            <data android:scheme="myproject" />
          </intent-filter>
        </activity>
    </application>

</manifest>
Next, we edit our only activity screen, and set it to load a Javascript/LocalStorage-enabled web browser instance starting at the page we specify. This is done via the onCreate function.
In app/src/main/java/com/mycompany/myproject/MainActivity.java:
package com.mycompany.myproject;

import androidx.appcompat.app.AppCompatActivity;
import android.os.Bundle;
import android.webkit.WebView;
import android.webkit.WebViewClient;
import android.content.Intent;

public class MainActivity extends AppCompatActivity
{

    private WebView webview;

    @Override
    protected void onCreate (Bundle savedInstanceState)
    {

        Intent intent = getIntent();

        super.onCreate(savedInstanceState);
        setContentView(R.layout.activity_main);

        webview =(WebView)findViewById(R.id.webView);

        webview.setWebViewClient(new WebViewClient());
        webview.getSettings().setJavaScriptEnabled(true);
        webview.getSettings().setDomStorageEnabled(true);
        webview.setOverScrollMode(WebView.OVER_SCROLL_NEVER);
        webview.loadUrl("https://app.mysite.com/");
    }

    public void onBackPressed ()
    {
        if (webview.canGoBack())
        {
            webview.goBack();
        }
        else
        {
            super.onBackPressed();
        }
    }

}
Finally, we set out how the embedded window (WebView) should appear: it should fill the screen.
In app/src/main/res/layout/activity_main.xml
<?xml version="1.0" encoding="utf-8"?>
<androidx.constraintlayout.widget.ConstraintLayout xmlns:android="http://schemas.android.com/apk/res/android"
    xmlns:app="http://schemas.android.com/apk/res-auto"
    xmlns:tools="http://schemas.android.com/tools"
    android:layout_width="match_parent"
    android:layout_height="match_parent"
    tools:context=".MainActivity">

    <WebView
        android:layout_width="fill_parent"
        android:layout_height="fill_parent"
        android:id="@+id/webView"
        android:layout_alignParentTop="true"
        android:layout_alignParentLeft="true"
        android:layout_alignParentStart="true"
        android:layout_alignParentBottom="true"
        android:layout_alignParentRight="true"
        android:layout_alignParentEnd="true" />

</androidx.constraintlayout.widget.ConstraintLayout>
To change our icons, we need to replace all the .png files in app/src/main/res/mipmap-* (there are usually 6 folders beginning with "mipmap-").
As one final weak, we want to remove the Action Bar which appears by default. For that we have to edit our app's Theme.
In app/src/main/res/values/themes.xml we change the value of the parent attribute of the main XML element to:
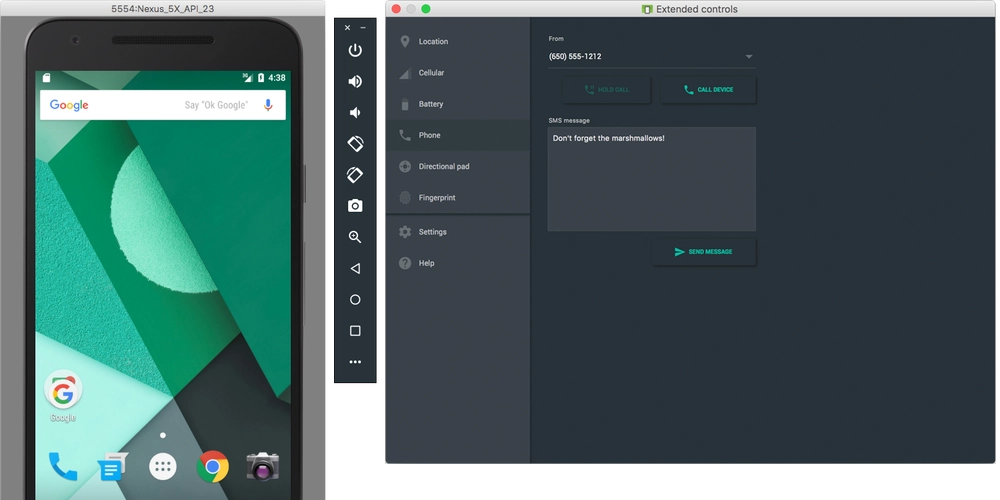
<style name="Theme.MyProject" parent="Theme.AppCompat.NoActionBar">Finally, press the green play icon in Studio to run the emulator. Eh, voila.
Packaging A Web App Into An Electron App for Windows, Mac & Linux
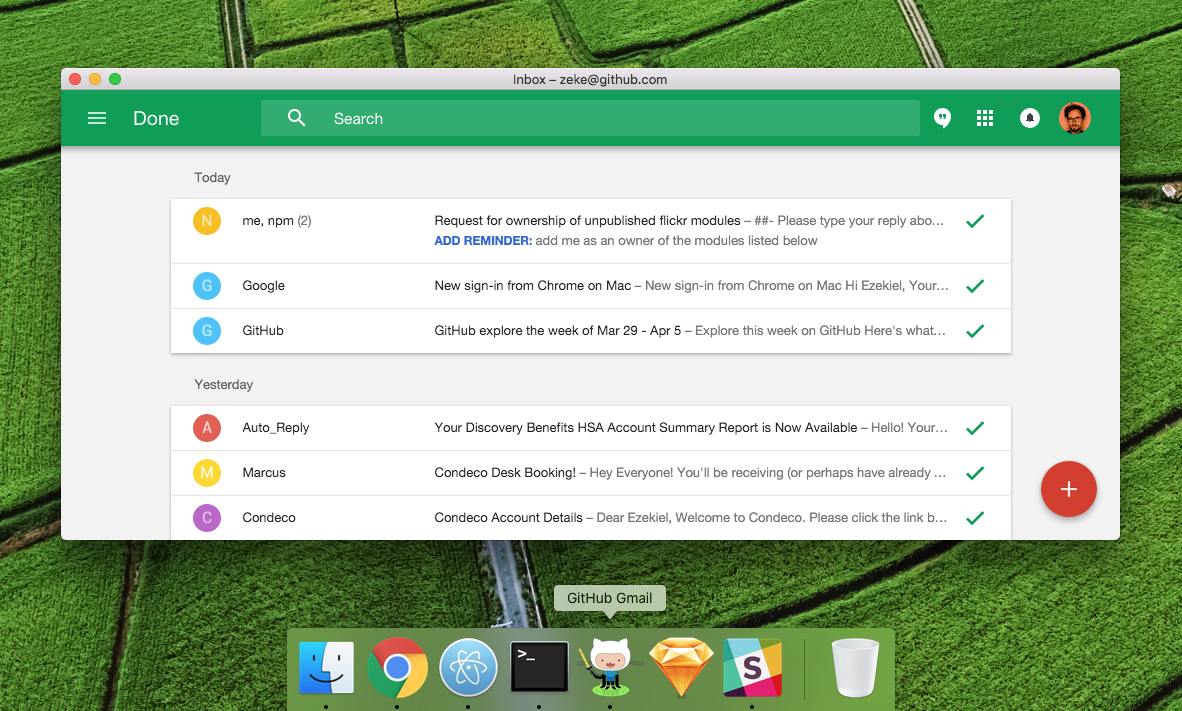
ElectronJS (https://www.electronjs.org/) is a NodeJS project which is, in essence, a portable bundle of the Chromium browser which you pre-define a start page for, and can disribute as your own standalone app.
The theory again is simple: run a "vanilla" copy (or "wrapper") of a browser which appears on the screen as a desktop program.
The easiest way to do that is by using Nativefier: https://github.com/jiahaog/nativefier
First up, install it using NPM or Docker:
npm install -g nativefier
docker pull jiahaog/nativefier
To create a new app for the OS you are running which loads https://mysite.com/app and is saved to home/username/save-dir/myproject/PageTitle :
docker run --rm -v ~/save-dir/myproject:/target/ jiahaog/nativefier https://mysite.com/appFor a much comprehensive build, you can tweak a huge amount of options:
nativefier  \

--name MyCoolApp \
--platform osx \
--arch darwin \
--app-copyright ACME \
--app-version 1.0 \
--build-version 1.0 \
--electron-version 2.3 \
--widevine \
--icon path/to/icon.png \
--counter \
--bounce \
--width 1200 \
--height 800 \
--min-width 1200 \
--min-height 800 \
--max-width 1200 \
--max-height 800 \
--x 0 \
--y 0 \
--show-menu-bar \
--fast-quit \
--user-agent My App \
--ignore-certificate \
--ignore-gpu-blacklist \
--enable-es3-apis \
--insecure \
--internal-urls ".*?" \
--block-external-urls \
--inject ./some-css-injection.css \
--full-screen \
--maximize \
--hide-window-frame \
--title-bar-style { color: #000 } \
--verbose \
--disable-context-menu \
--disable-dev-tools \
--crash-reporter https://mysite/logger \
--zoom 1.0 \
--single-instance \
--clear-cache \
--tray false \
--basic-auth-username appusername \
--basic-auth-password somepass \
--processEnvs '{"GOOGLE_API_KEY": "<your-google-api-key>"}' \
--file-download-options '{"saveAs": true}' \
--always-on-top \
--global-shortcuts keyboard_shortcuts.json \
-browserwindow-options '{ "webPreferences": { "defaultFontFamily": { "standard": "Comic Sans MS", "serif": "Comic Sans MS" } } }' \
--darwin-dark-mode-support \
--background-color #000 \
--win32metadata '{"ProductName": "Your Product Name", "InternalName", "Your Internal Name", "FileDescription": "Your File Description"}'


https://mysite.com/app
Of course, this can be done within NPM or as part of a build process:
var nativefier = require('nativefier').default;

// possible options, defaults unless specified otherwise
var options = {
  name: 'Web WhatsApp', // will be inferred if not specified
  targetUrl: 'http://web.whatsapp.com', // required
  platform: 'darwin', // defaults to the current system
  arch: 'x64', // defaults to the current system
  version: '0.36.4',
  out: '.',
  overwrite: false,
  asar: false, // see conceal
  icon: '~/Desktop/icon.png',
  counter: false,
  bounce: false,
  width: 1280,
  height: 800,
  showMenuBar: false,
  fastQuit: false,
  userAgent: 'Mozilla ...', // will infer a default for your current system
  ignoreCertificate: false,
  ignoreGpuBlacklist: false,
  enableEs3Apis: false,
  internalUrls: '.*?', // defaults to URLs on same second-level domain as app
  blockExternalUrls: false,
  insecure: false,
  honest: false,
  zoom: 1.0,
  singleInstance: false,
  clearCache: false,
  fileDownloadOptions: {
    saveAs: true, // always show "Save As" dialog
  },
  processEnvs: {
    GOOGLE_API_KEY: '<your-google-api-key>',
  },
};

nativefier(options, function (error, appPath) {
  if (error) {
    console.error(error);
    return;
  }
  console.log('App has been nativefied to', appPath);
});